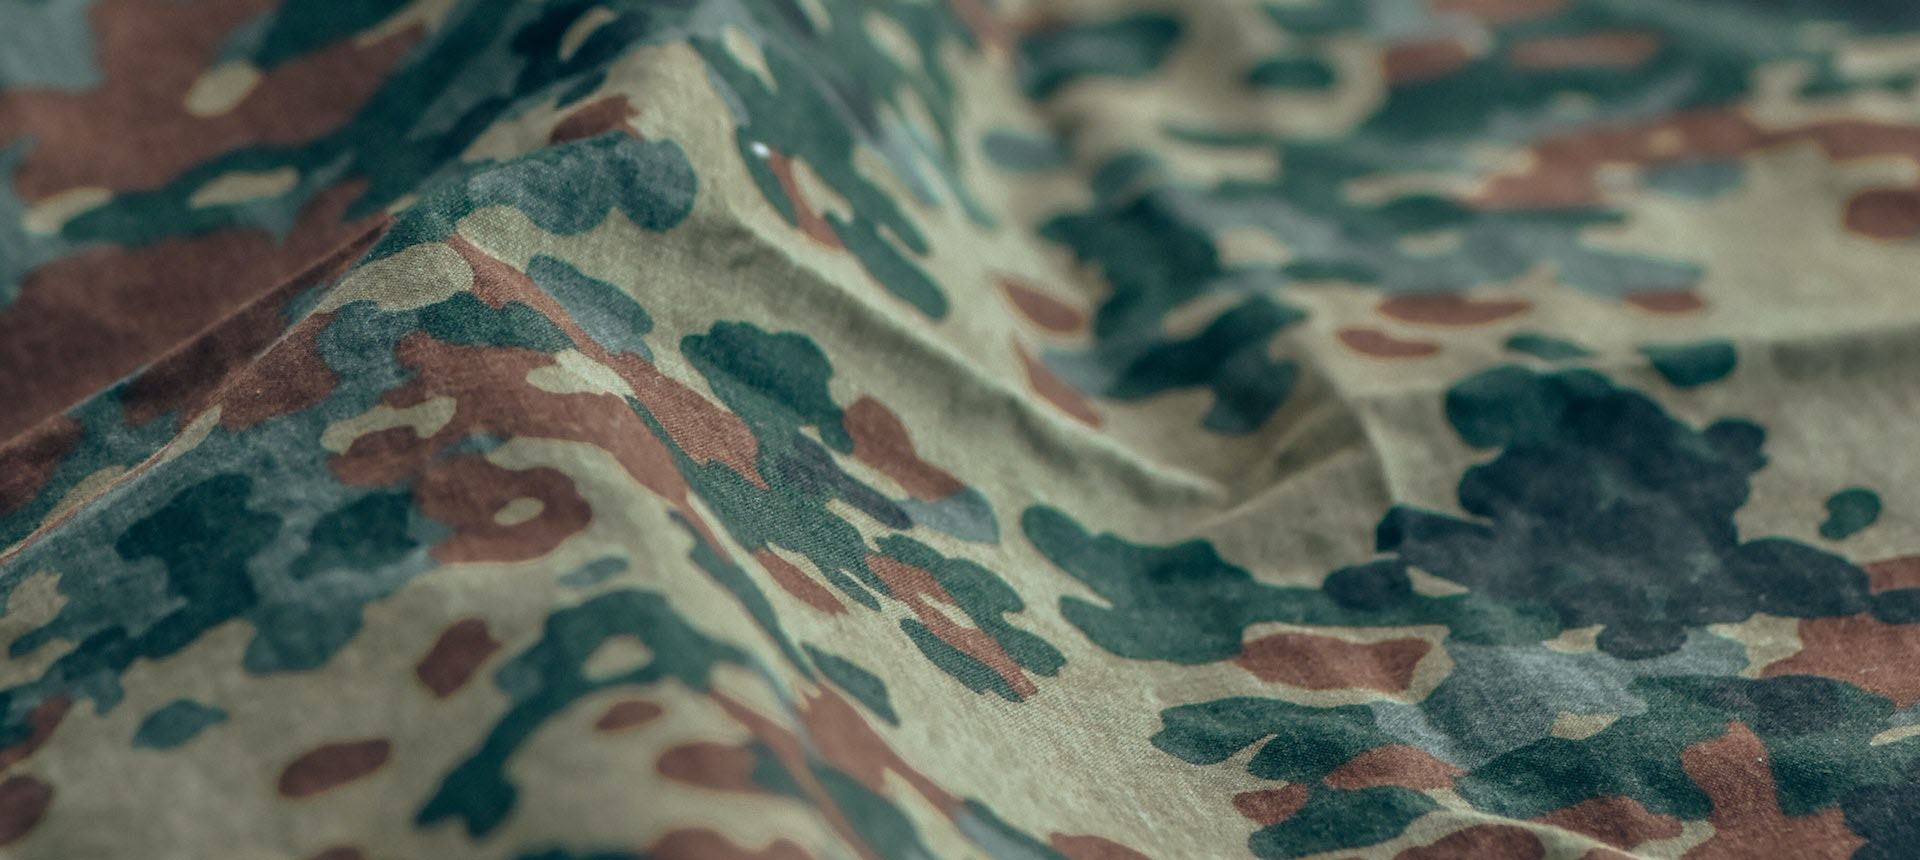
Adding camouflage to your truck is making the ultimate hunting vehicle statement.
I’ve have an addiction to camouflage. My closet is filled with shirts, pants, jackets, backpacks, and boots that would blend in to just about any habitat I might happen to be hunting. I even have a few t-shirts, long-johns and socks in camo. Almost everything is in Mossy Oak patterns, too.
So it’s of no surprise to my friends when I took the ultimate plunge and decide that the brand new silver Toyota Tundra Double Cab 4×4 sitting in my driveway should blend in to the woods as well. It was given the full Monte in Mossy Oak New Break-Up camo—bumper-to-bumper, rocker panels to roof.
Most people think it’s a first-class paint job. But it’s not. It’s vinyl overlay—really good vinyl I might add.
Overkill? Maybe to some folks’ way of thinking, but not for a hunter who likes to make a statement—and who sees the practical values of such a bold move.
Before having my new truck covered in camo, I talked with the folks at both Mossy Oak and Camoclad about how it was done, the product used, and the long-term effects on my truck’s paint and resale value.
What I learned is Camoclad delivers the camouflage graphics printed on 4’ Wx5’L vinyl sheets made by 3M. The material is a very special 4 mil, premium vinyl film called “Controltac 160-C” that is applied to the vehicle dry.
The back of the vinyl is covered with pressure-activated microscopic pockets of adhesive that allows the film to be repositioned during installation until pressure is applied to the film surface by hand or with a squeegee.
But the neatest part is these sheets of Mossy Oak-imprinted vinyl overlays can be easily removed by simply peeling them away from the vehicle body even years after application. The material doesn’t damage the paint, and it is said the UV-protectants in the special inks Camoclad uses in the process keeps the pattern from fading out.
The thick vinyl also takes the abuse from the elements, brush and debris, so the paint beneath is quite well protected. I was sold.
I could have bought a do-it-yourself kit to cover the Tundra and the A.R.E. bed shell for less than $600. But I wasn’t that confident in my ability to tackle such a job my first-time out. So I called my local Camoclad dealer, Advanced Sign & Graphics for a little help.
A few days later Richard Trahan and his helper showed up with the materials. I’d washed the truck thoroughly the night before, taking care to remove tar, grease, bugs and anything else that would prevent the adhesive from sticking to the paint. They went right to work.
By the end of the day I was standing in front of my “new” Tundra. It looked every bit a hunter’s dream truck—and the camo wrap looked like it was a custom paint job, not vinyl overlay.
The installation of vinyl graphics is not difficult. But it is very tedious and time consuming to do it right. Trahan even took the time to cut out individual “leaves and twigs” from left over pieces of the camo to place on the taillights and side windows to make the finished job look even more custom.
Is the $2,000 cost of the full-camo body wrap worth it? To me it is. I get the enjoyment of having the only Toyota Tundra like it here on the Mississippi Gulf Coast; my hunting buddies are jealous; it turns every head around; and I have the satisfaction knowing that when I tire of either the truck or the camo, it’d only take me a few hours to remove the wrap to reveal the original paint beneath. Resale value isn’t hurt either way. That’s a win-win in my eyes.
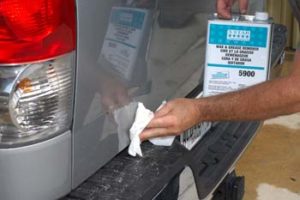
The vehicle must be very clean, and if you remove emblems, as we did, use wax/grease remover to get off the residual glue.
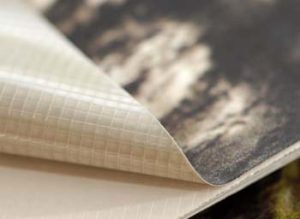
The camo material is a very special 4 mil, premium vinyl film called “Controltac 160-C” that is applied to the vehicle dry. The back of the vinyl is covered with pressure-activated microscopic pockets of adhesive that allows the film to be repositioned during installation until heavy pressure is applied to the film surface by hand or with a squeegee.
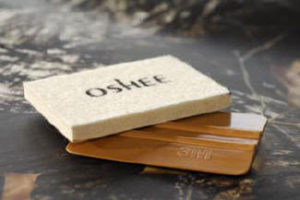
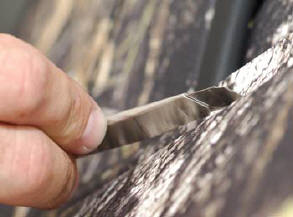
The only installation tools required are a hard and soft squeegee, available from most auto body supply stores, and a very good fine-tip stainless steel razor knife.
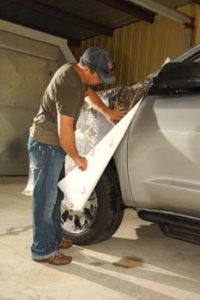
Lay one sheet of the vinyl on the truck and tape in place. Then remove part of the backing paer and begin applying, slowly pulling backing away as you work top to bottom.
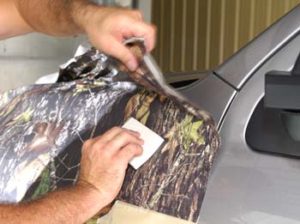
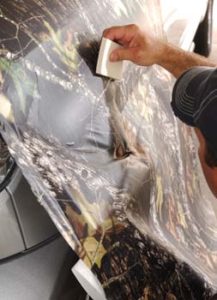
Use the squeegees to smooth out the bubbles and wrinkles. Work slowly. Vinyl can be lifted up and put back several times if needed.
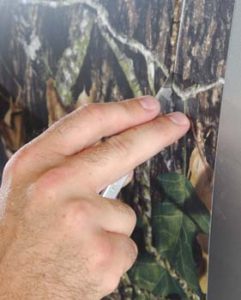
Use the razor knife to trim close to all edges. Use just enough pressure to cut vinyl and not score the paint underneath.
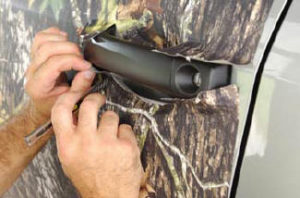
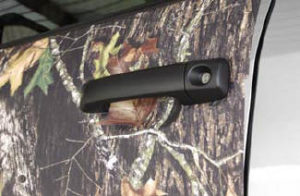
Take care around door handles, Work slowly to fold vinyl under and around handles.
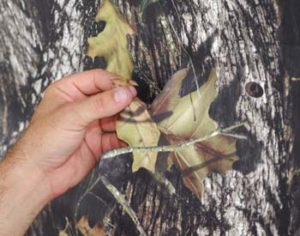
When applying the Camoclad Mossy Oak New Breakup vinyl camo graphics small areas that don’t look quite right can be covered with a “leaf” cut from a piece of the scrap vinyl. Voila! No odd-looking spot.
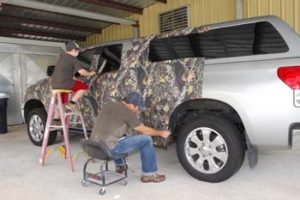
Work from front of truck toward rear. A helper comes in handy for such a project.
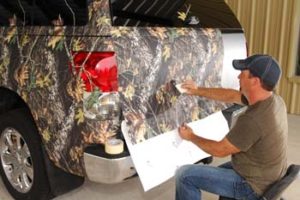
Tape vinyl along top edge, peel back the white paper backing, work out wrinkles and bubble with squeegee, and continue pulling off backing as you work down the tailgate area.
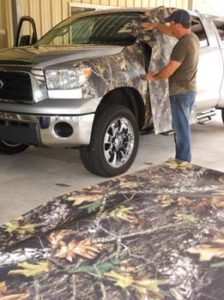
Small “Mossy Oak” logos are imprinted into the 4×5-foot sheets of Camoclad to help make sure the sheets are applied right-side up so the grain and patterns match.

